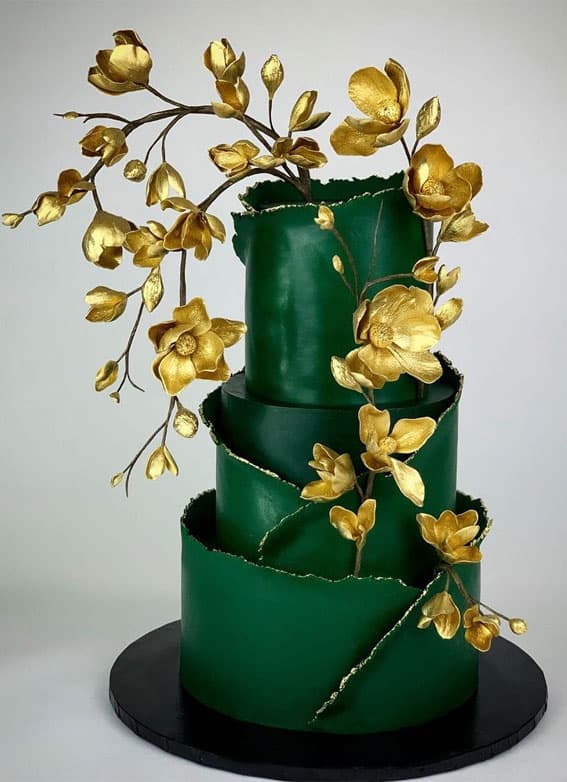
In the world of baking and confectionery, icing serves a dual purpose. Not only does it add sweet flavor to cakes, cookies, and other treats, but it also acts as an eye-catching decorative element. In this guide, we’ll explore how you can elevate your baking endeavors with a vibrant splash of color – specifically, emerald green. This stunning shade is perfect for a variety of occasions such as St. Patrick’s Day, Christmas, or even a Wizard of Oz-themed party. Let’s embark on a culinary journey to create this gemstone-inspired icing.
Before We Begin: Icing Basics
The two main types of icing typically used in baking are royal icing and buttercream. Royal icing, composed of powdered sugar, egg whites, and a touch of lemon juice, hardens as it dries, making it ideal for intricate decorations and detailing. Buttercream, on the other hand, is a creamy blend of butter and powdered sugar, maintaining its soft texture and adding a delectable richness to your baked goods.
Either of these can be transformed into emerald green icing with the proper use of food coloring.
The Emerald Green Icing: Ingredients You Will Need

For the Icing:
- Your preferred icing base (royal icing or buttercream)
For the Color:
- Green food coloring
- Blue food coloring
- Yellow food coloring
While there are pre-made green food colorings available, crafting the emerald green shade requires a more nuanced approach, combining different food colorings.
Step-by-Step Guide to Creating Emerald Green Icing
Step 1: Prepare Your Icing
Start by preparing your icing base. Whether you choose to use royal icing or buttercream, ensure that you follow the specific recipe accurately. You should end up with a creamy, white base, ready for the addition of color.
Step 2: Create the Green Base
Begin by adding green food coloring to the icing. Since the intensity of food coloring can vary based on the brand, start with only a few drops. Stir thoroughly to evenly distribute the color throughout the icing. You should have a medium to light green color as your base.
Step 3: Add Depth with Blue
To give the icing an emerald-like depth, you’ll add blue food coloring. Again, be cautious with the amount – just a few drops should suffice. The blue should darken the green, taking it from a leafy shade to a deeper, jewel-like hue.
Step 4: Brighten with Yellow
Emerald green has a vibrant undertone that sets it apart from darker, bluer greens. To achieve this, add a few drops of yellow food coloring. The yellow will brighten the green, enhancing its emerald-like quality.
Step 5: Adjust as Needed
After adding the yellow food coloring, evaluate the color of your icing. If it’s too dark, you can lighten it by adding more icing to dilute the color. If it’s too light or lacks the desired intensity, you can deepen the color by adding more green or blue food coloring. Remember, it’s always easier to add more coloring than to try and remove it, so make your adjustments gradually.
Pro Tips for Perfect Emerald Green Icing
- Use Gel Food Coloring: Gel food coloring is more concentrated than its liquid counterpart, making it better for achieving vibrant, rich colors without affecting the icing’s consistency.
- Wait It Out: Food coloring tends to darken over time, so it may be a good idea to let your icing sit for a few hours before making any final adjustments.
- Mind Your Flavor: Remember that adding too much food coloring can sometimes impart a bitter taste. Keep a careful balance to maintain the delicious flavor of your icing.
- Remember Food Safety: Ensure that all the food coloring you use is edible and safe.
Creating emerald green icing requires patience, but the stunning results are well worth the effort. With this vibrant icing, your cakes, cookies, and cupcakes will be the star of any occasion. Let your creativity run wild and happy baking!
